Remember. If your R400 presenter is under guarantee give it back to service station (repair shop) and don't fix it on your own.
I've been conducting training sessions since few months in the company I work in. So to be more professional I bought myself presenter: Logitech R400.

I paid 100 PLN (~30$). It was so cheap, because battery cover was broken, but I fixed it myself.

Then during one training laser diode stopped working. Batteries were new, so it was diode itself that was now broken. I had to replace it. I couldn't find many pages of how to repair it, this is the only one I found: Link.
I bought two laser diodes, with shipping I paid for them

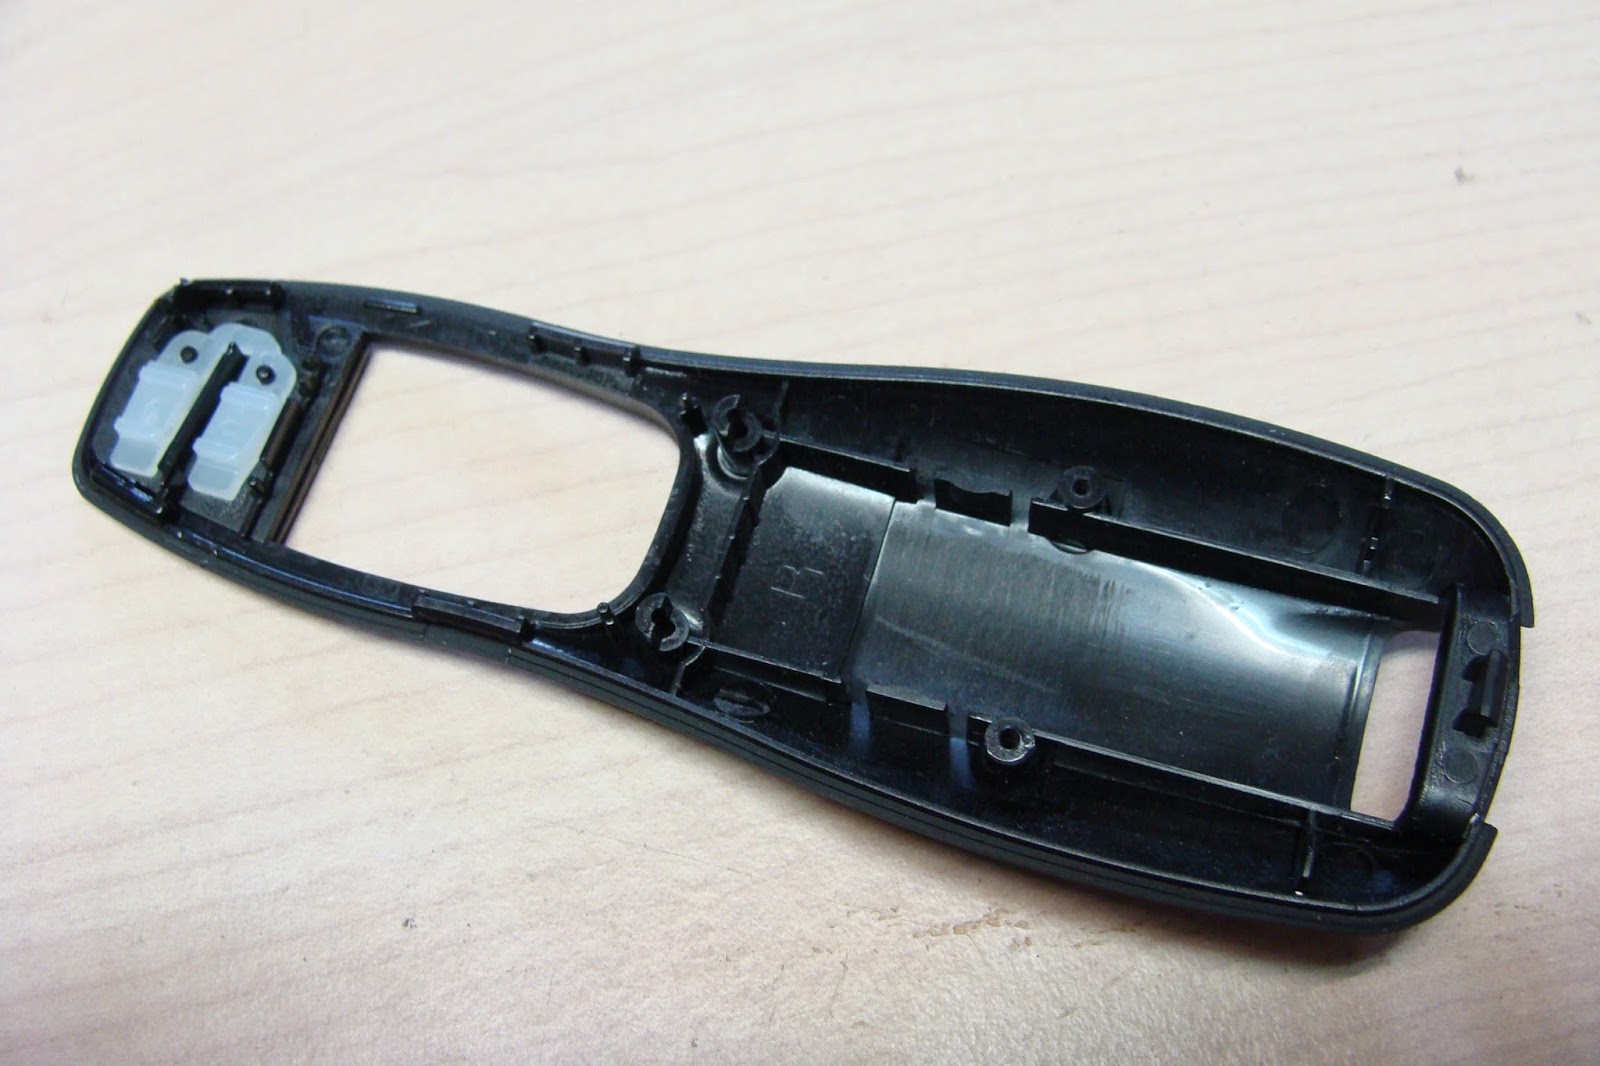
There were five latches shown on the photo below.

But firstly under the batteries there is a sticker. Under it there are two little screws. You need to unscrew them.


Now you need to release the first latch using flat screwdriver or a knife.


Now the upper cover is opened a bit. Now you need to move it left and right to release next four latches. You need to be very careful, but once you are done you will see this:

There is a little overlay on the switch. Take it away.

The electronic plate is attached by one screw. Unscrew it.

It's hard to release the plate because of the battery springs. You need to be very careful and patient.

Now raise the plate a bit, so you can see the laser diode. You need to unscrew two last screws that holds laser diode in one position.


After disassembly my presenter looks like that:


To not destroy or spoil the electronics I decided to cut the wires that connected the plate and the diode alongside the diode. I used those wires to solder the laser diode to them. I have the old type of soldering iron, which is not very precised.

After soldering the wires, you need to put all of the parts back together. Firstly attach the diode to the bottom cover. Use two screws.

Then put back the plate, be careful with the springs. Screw the screw.

Now put the batteries inside and test the new diode. It works :)

Now put the plastic overlay on the switch and the function buttons on the plate.

Now you need to attach the upper cover to the bottom one by those five latches. Then you screw the two screws that are located under the batteries.
Then put the batteries again and the battery cover. The Presenter is fixed. I also uploaded some more photos, maybe they will be useful.